Changing the TinyCircuits and Thumby logo on Thumby startup
To change the start up logos, you will need an image to replace the TinyCircuits logo and/or the Thumby logo in the Thumby filesystem. The images in the Thumby filesystem are saved as .bin files:
-
TClogo.bin
- The TinyCircuits logo flashes momentarily on the screen when turning the Thumby on. There is nothing else on the screen at this point, so you can use the full screen dimensions for a replacement: 72×40 pixels
-
thumbyLogo.bin
- The Thumby logo that is above the start menu can be only 24 pixels tall to avoid crowding out the "Start" text and flashing arrow to indicate that the Thumby is fully on and ready to play - taller images will be cut off.
Open image and save as a .bin
The easiest way to replace these logos with your own is to use a picture that already exists, or create your design in whichever image editor works best for you.
If you are not already familiar with the sprite sheet tool found under the Import Sprite button on the Thumby Code Editor, consider getting started with the Spritesheet Tutorial before moving on.
Press Import Sprite and then Open Sheet Image to open your image in the Spritesheet editor.
Since we just want one image to replace a logo, the X frame count and Y frame count values can be set to 1 in the Sprite editor. The image can be up to 72 pixels wide since that's the width of the Thumby screen, so the Frame width (px) value can be up to 72.
The top left corner will show how large your image is with pixel dimensions - if your image is too big, you can resize it with some photo software like MS Paint or GIMP to make the image smaller for the Thumby screen.
You may need to use the frame and offset values to move the green Spritesheet overlay to the part of the image you wish to display. Lastly, use the Black/White Threshold slider to change how black and white pixels are applied to your input image.
These are the values that worked best to save the eyes of a cat for this tutorial:
This image could be improved by resizing it with photo editing software to maintain more of the image, but this works just fine as an example. It's dimensions are 72px by 40px. Save the image as a .bin file by clicking Export Data and then To Editor.
Save .bin Image to Thumby filesystem
For this step, please make sure your Thumby is connected to the Code Editor. If you are not sure what that means, please go through the Getting Started with Thumby tutorial for the Thumby Code Editor.
You will need to save the .bin file you have created to the Thumby filesystem. Press File and then Save as to Thumby.
Save your image file to the lib/ directory and whatever you name it in this step, make sure it ends with .bin:
Replace Thumby Logo
Since the image we made earlier is 72×40 pixels, it will work best as the start up logo, or the TClogo.bin. Rename the TCLogo.bin to something like orig-TCLogo.bin to signify that it is the original logo. Rename the .bin image file you saved in the previous step to TClogo.bin:
After the renamed file is saved, you can disconnect the Thumby and turn it off and back on. You should see the image saved under TClogo.bin flash for a second before the start menu opens. Optionally, you can delete the original orig-TCLogo.bin file.
Keep in mind that updates to the Thumby API from the Code Editor may delete and replace any custom images, so make sure to save your image.bin files when you update your Thumby in the future!
Replace Start Menu Logo
For the Start menu logo thumbyLogo.bin, you will follow the same steps as above with a small difference. The image you place here can only be 24 pixels tall to keep space for the Start text. If you place an image with height greater than 24, the image will be cutoff. I cropped a different portion of the cat image used previously:
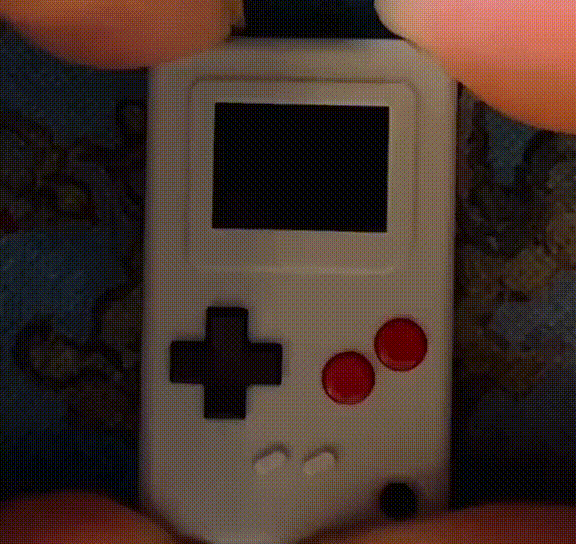
The final product of the customized logos: