Making Sprites
It's time to paint some pictures, and load them into your game!
This tutorial will introduce you to:
- Sprites in the Thumby Code Editor
- How to load sprites into your Blockly workspace
- How to display sprites in your game
- This tutorial won't yet show you how to move them around in your game.
Let's get started!
Games sometimes have title screens that display the name of the game, and maybe a picture, just before the game loads. Adding a title screen can be a nice way to make a game more pretty and have more character.
We are going to make a title screen for a game (actually for the one we made in the previous tutorial), and show it on-screen briefly by making and displaying a sprite.
Sprites are pictures that you can hand-draw, or load from a picture file. You can display these in your game and move, flip, mirror, and even make animations with them! For this tutorial, we are going to make a sprite that fills the whole screen and display it for a few seconds.
Drawing Sprites
First let's make a sprite!
- Grab a
![[load sprite]](../../images/editor-blockly-sprite-block.png) block from the Sprites category, and place it into an empty part of your workspace above any other blocks you might have in your workspace.
block from the Sprites category, and place it into an empty part of your workspace above any other blocks you might have in your workspace.
Putting it higher up makes it run first.
We now have a sprite in our workspace that has been given a default name. Let's change it to something better.
- Right click on the dropdown at the end of your block and click on "Rename Sprite".
- Give it the name "title".
Now let's display it on-screen. First, we need to draw it in the next frame, then we need to send the frame to the display.
- Grab a
![[draw title]](../../images/editor-blockly-draw-sprite-title-block.png) block from the Sprites category and add it underneath your load sprite block.
block from the Sprites category and add it underneath your load sprite block. - Now add a
![[send drawn frame to display] and [draw fill]](../../images/editor-blockly-send-drawn-combo-block.png) combo block underneath that.
combo block underneath that. - After that, add a
![[wait]](../../images/editor-blockly-wait-block.png) block from the Flow category to make sure the sprite shows on the display for a while. Change the value from "1" to "3" so the sprite shows on the display for 3 seconds.
block from the Flow category to make sure the sprite shows on the display for a while. Change the value from "1" to "3" so the sprite shows on the display for 3 seconds. - Run it:
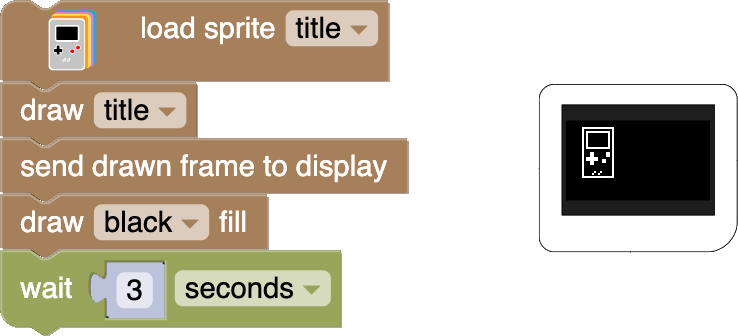
Sweet!... Wait... Where did that picture come from? All sprites are initialized with a default drawing of Thumby. That is what you are seeing!
⚠ Note: Be careful when you delete ![]() blocks, as the picture data they contain will be lost! You can keep a copy of them in the corner of your workspace just to be safe!
blocks, as the picture data they contain will be lost! You can keep a copy of them in the corner of your workspace just to be safe!
Our next step is to change the picture!
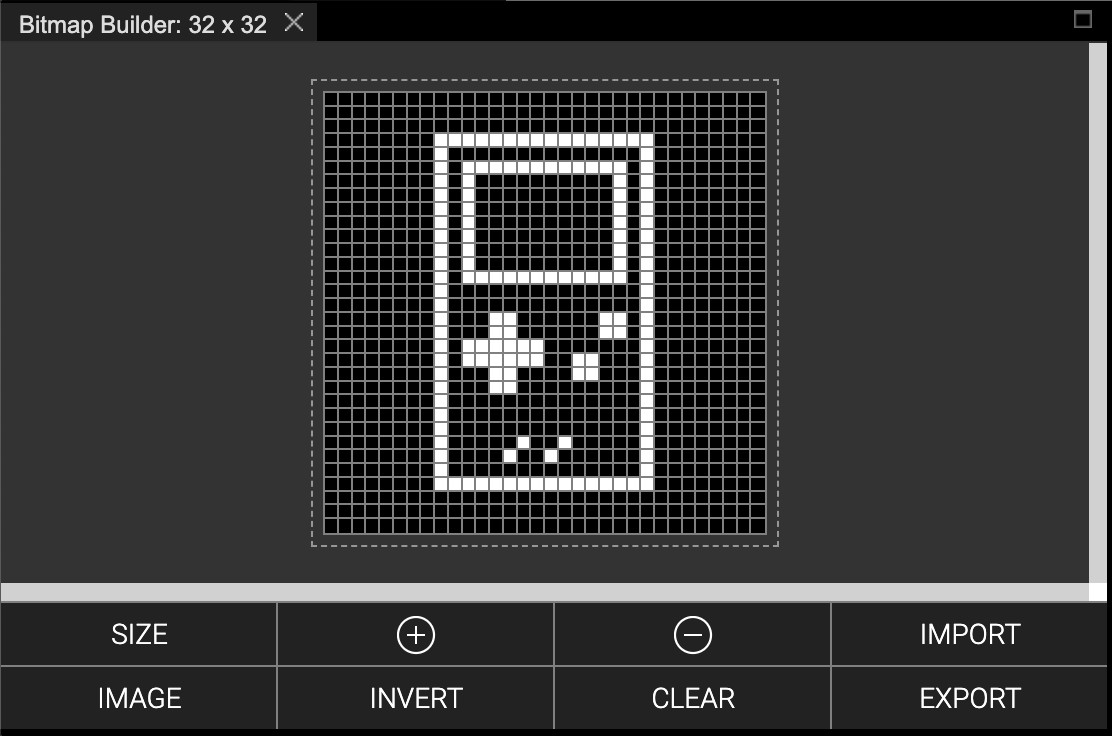
The Bitmap Builder
Sprites can have their pictures changed using the Bitmap Builder Widget.
Let's find the Bitmap Builder. It might be next to the Filesystem tab:
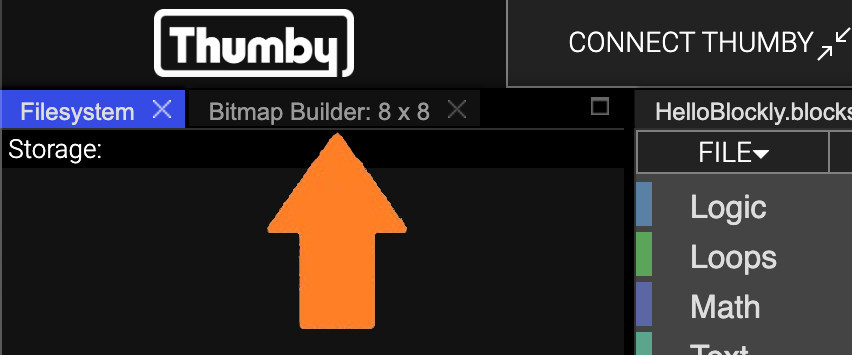
Or it might be in the hidden-tab dropdown:
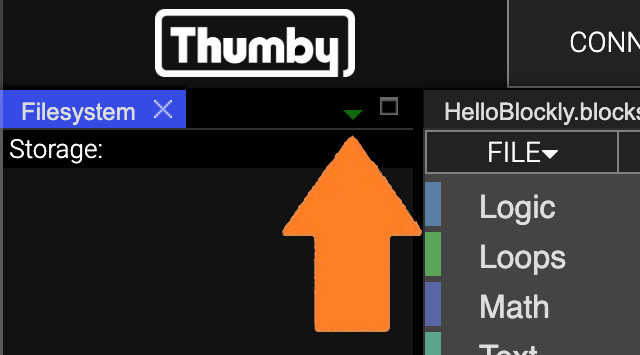
Or you might need to open it again with UTILITIES -> WIDGETS -> + BITMAP BUILDER.
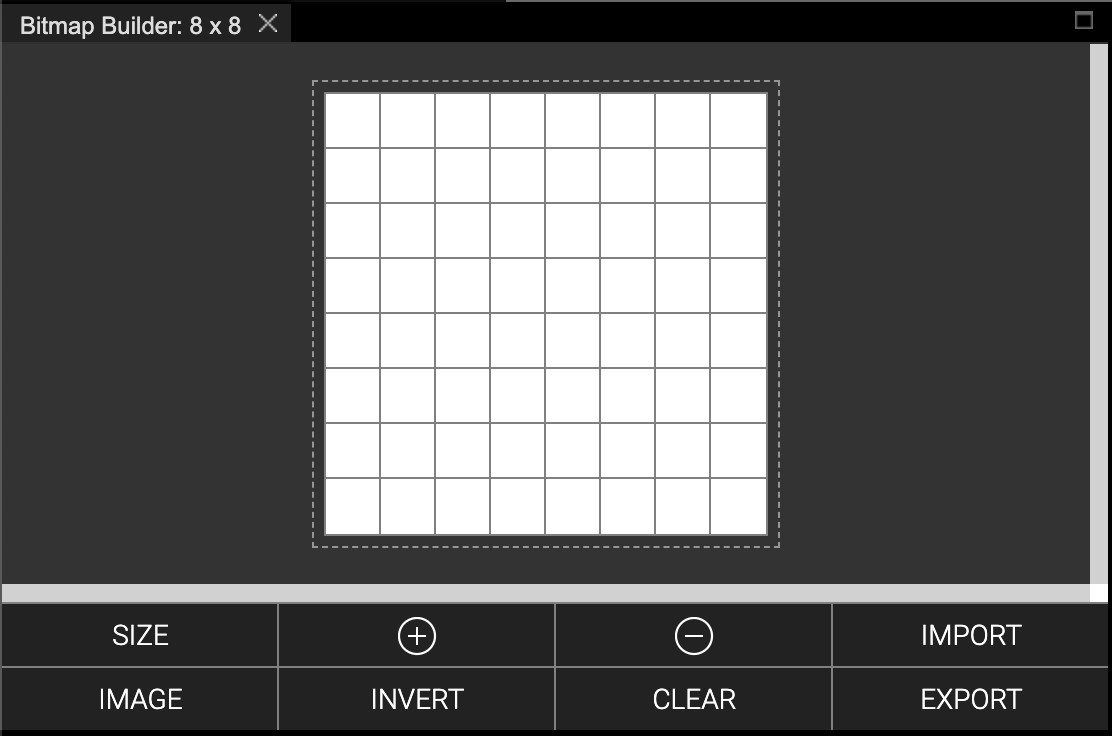
Once you have found it, it should look like this:
Loading Sprites To The Bitmap Builder
To load a sprite from your workspace into the Bitmap Builder, you use the IMPORT button, but the Bitmap Builder needs to know which Sprite you want to open (you might have more than one), so you must make sure a ![]() block is selected in your workspace.
block is selected in your workspace.
- Select the block in your workspace for the "title" Sprite.
- Click IMPORT.
You should see the Thumby Sprite loaded:
Updating Sprites on the Workspace
First, let's make some changes to the sprite picture, then update the sprite back on our workspace:
- Click INVERT which will swap the colors.
- Make sure the block in your workspace is still selected.
- Click EXPORT.
You should see that the pictures in the ![]() blocks update:
blocks update:
Nice!
- Now run it!
Title screens look best when they fill the whole screen and when they have been customized for the game. Let's do both next.
Using the Bitmap Builder to Paint
First, let's make the sprite the same size as the screen. The Thumby screen is 72 pixels wide, and 40 pixels high.
Resizing Sprites
⚠ Note: Resizing your sprite will clear its contents. Don't resize your picture unless you don't mind losing it, or unless you have stored it back in your workspace.
In the Bitmap Builder:
- Click SIZE.
- Enter 72 for the width and click OK.
- Enter 40 for the height and click OK.
You should now have a blank white drawing area with lots more pixels!
⚠ Note: The Bitmap Builder has a maximum image size of 144 wide, and 80 tall, which is much larger than the Thumby screen!
Drawing
To draw on the picture, use the mouse Left Click to draw black pixels, and use Right Click to draw white pixels. You can click and drag across the screen to scribble.
If you want to start over, use the CLEAR button to reset the whole picture to white.
To zoom in and out of the picture, use the ⊕ and ⊖ buttons.
Opening Image Files From Your Computer
You can use the IMAGE button to open files from your computer. They will be automatically converted to black and white. The image file you open must not be larger than 144 wide and 80 high. Most image file formats will work.
-
Try downloading the image to your computer and loading it into the Bitmap Builder with the IMAGE button. Download this image (Right-click and select 'Save image as...'):

(Speed Buzzer Title Sprite 72x40) -
Now update the sprite in your workspace with EXPORT and then run it in the Emulator with START to see what happens!
Next Tutorial: Drawing and Dynamics
Drawing animated sprites
Drag and drop the ![]() block wherever you like and load a bitmap containing multiple frames into it using the Bitmap Builder like before. Change the width and height to the size of the frames in the bitmap. The number of frames will be determined automatically.
block wherever you like and load a bitmap containing multiple frames into it using the Bitmap Builder like before. Change the width and height to the size of the frames in the bitmap. The number of frames will be determined automatically.
For example, here's a bitmap that is 24px wide and 8px tall:
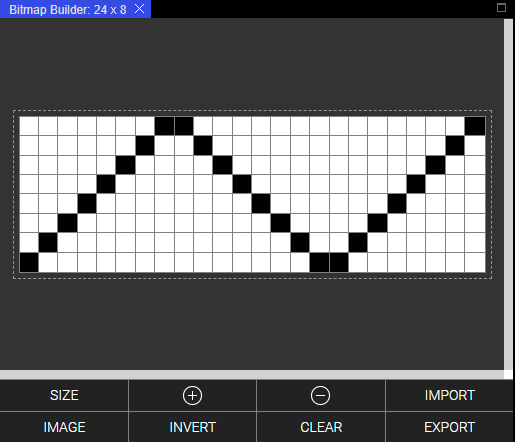
Each frame in the above bitmap is 8x8px and so the block ends up looking like:

This can be combined with the 'set frame number to' block and the rest of the drawing blocks mentioned throughout this tutorial to draw animated sprites!